
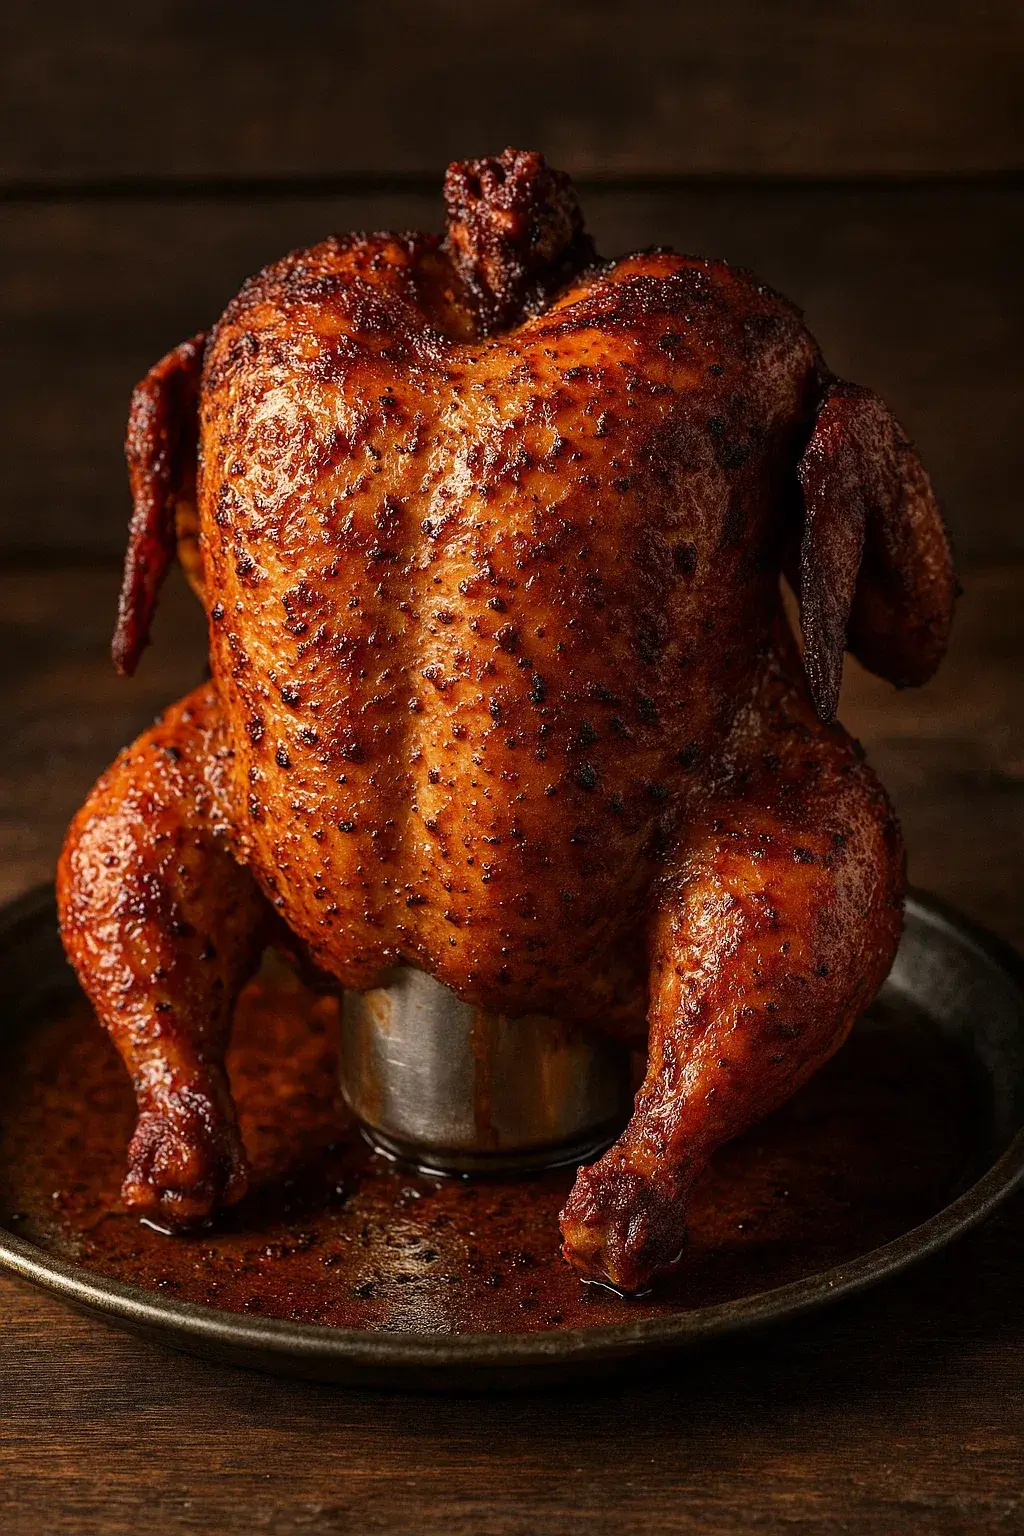
You are going to be astonished by how much and how many pieces of this juicy, flavorful, and appetizing chicken you are going to prepare. This easy smoked beer can chicken recipe creates an incredibly moist bird with perfectly crispy, seasoned skin. It has been an actual headturner in any backyard barbecue or family dinner.
It steams the chicken on the inside and outside as it cooks slowly in the smoker by using the magic of a so simple can of beer. The outcome is a tender effect and a deep-seated smoky flavour that is simply impossible to forget. This guide provides everything you need to master the art of smoked beer can chicken.
Why This is the Best Method
The sweet chocolate chip muffin mix is made simple and gives amazing results. The beer acts to steam out the inside of the bird keeping the meat incredibly moist and tender making it a successful smoke that takes a long period of time. Never again will you ever have a problem with dry chicken.
Furthermore, the low-and-slow smoking technique locks in a rich, savory flavor that you just can’t get from an oven. The mature skin gets the skin to the most perfect crispiness, and it gives an incredible contrast to soft meat within. It is a foolproof method of turning out a pro-quality smoked chicken in your backyard.
Key Ingredients
In order to make this mouthwatering meal, you will require several rather unimportant Ingredients. The star is the dry rub making a savory crust on the skin.
Whole Chicken: One 4-5 pound whole chicken.
Beer: A 12 Oz can of light beer or whatever you prefer.
Olive Oil: A little oil to put to the rub to stick on the skin.
For the Dry Rub
- Brown Sugar
- Smoked Paprika
- Garlic Powder
- Onion Powder
- Kosher Salt
- Black Pepper
- Chili Powder
- Dried Thyme
How to Make Smoked Beer Can Chicken
These step-by-step instructions will help your chicken turn out great every time. The process is straightforward, focusing on preparation and patience.
Time & Servings
| Task | Time |
|---|---|
| Preparation Time | 15 minutes |
| Cooking Time | 3-4 hours |
| Total Time | 3-4 hours 15 minutes |
| Serves | 4-6 people |
Step-by-Step Instructions
- PREHEAT your smoker to 225°F (107°C). To accompany this recipe, use your choice of apple, cherry, or hickory wood chips that will add a rich, smoky flavor.
- PREPARE the beer can. Open the beer and pour out (or drink) about half of the contents. This prevents the can from overflowing inside the chicken.
- Remove all moisture with paper towels inside and out of the whole chicken. This is one of the most important procedures of attaining that crispy skin.
- COAT the chicken lightly with olive oil. This is sort of like a glue, to hold the delish dry rub to somewhere on each of the parts of the bird.
- Combine all of the dry ingredient of the rub mixture in a small bowl and mix together.
- SEASON the chicken generously with the rub. Do not forget about the inside cavity, crudely cover entire surface. Don’t be shy with the seasoning.
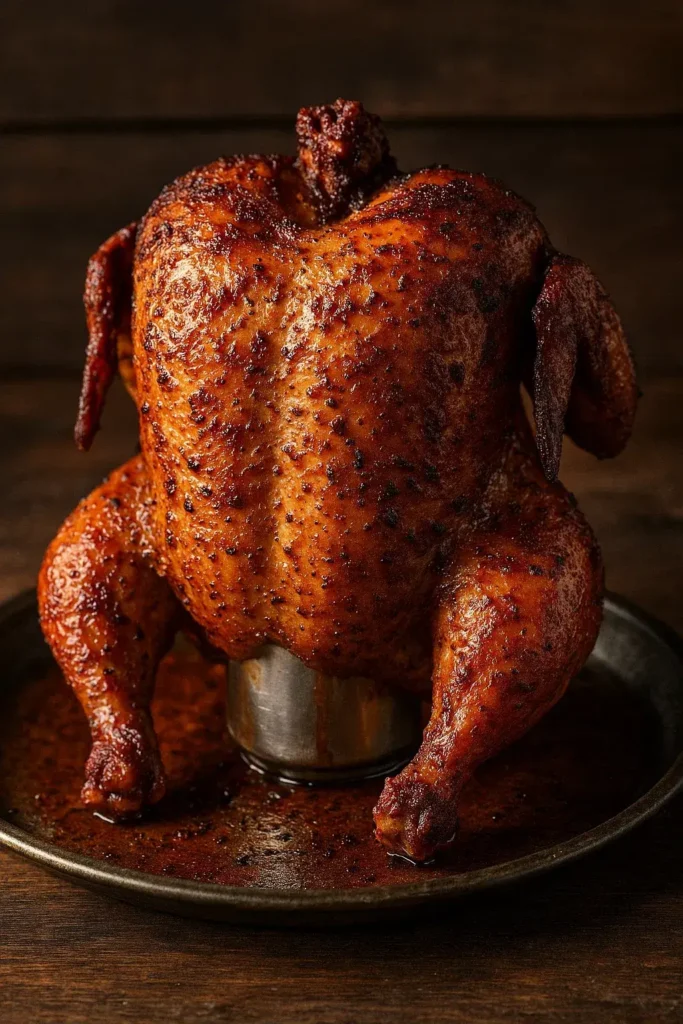
- Take care to put the chicken down cautiously over the top of the half-filled beer can. The can should fit snugly inside the chicken’s cavity, creating a stable base.
- Placed in the hot smoker, the chicken stands upright on its legs and can. Using a dedicated vertical roaster can add extra stability.
- SMOKE the chicken for 3 to 4 hours, or until the internal temperature reaches 165°F (74°C) in the thickest part of the thigh. Use a meat thermometer to check for doneness.
- After the chicken is removed in the smoker, it should rest the chicken at least 10-15 minutes. This gives the juices the ability to redistribute and guarantee a tender and moist outcome. Carefully remove the hot can before carving.
Tips and Tricks for Success
To elevate your smoked beer can chicken, keep these simple but effective tips in mind.
- Ensure Crispy Skin: The key to crispy skin is starting with a very dry bird. Pat it thoroughly with paper towels before applying the oil and rub. Any moisture left on the skin will steam, preventing it from crisping up.
- Check Temperature Correctly: Always use a reliable instant-read meat thermometer to check for doneness. Insert it into the thickest part of the thigh, being careful not to touch the bone, for an accurate reading of 165°F.
- Use a Stand for Stability: To prevent the chicken from tipping over in the smoker, consider using a beer can chicken stand or a vertical roaster. This holds the can and chicken securely in place.
A Perfect Centerpiece for Any Meal
This smoked beer can chicken recipe is more than just a meal; it’s an experience. It is a fun process, and the product can make any person go gaga with its deliciousness. It is the perfect centerpiece for any gathering.
Now that you have the steps and tips for success, it’s time to fire up your smoker. We urge you to attempt this great recipe and see how easy it is to do so. Don’t forget to leave a comment below with your results or share it with a friend!
Frequently Asked Questions
Which kind of beer would be most appropriate in beer can chicken?
A mild, standard lager is often the best choice as it won’t overpower the flavor of the chicken and the rub. Nevertheless, you can explore the many types of beer and find out what you like. The main usage of the liquid is to produce steam.
Do I have to use beer?
No, you don’t have to use beer. If you prefer a non-alcoholic option, you can use a can of soda (like root beer or cola), chicken broth, or even just water. This is in the effort to use a liquid that will make steam in the chicken.
How can I see that is the chicken cooked all the way through?
The best indicator to determine that the chicken is cooked is through the use of meat thermometer. The chicken is safe to eat when the internal temperature of the thickest part of the thigh reaches 165°F (74°C).

Ingredients
- One 4-5 pound whole chicken
- A 12 Oz can of light beer
- Olive Oil
- Brown Sugar
- Smoked Paprika
- Garlic Powder
- Onion Powder
- Kosher Salt
- Black Pepper
- Chili Powder
- Dried Thyme
Instructions
- PREHEAT your smoker to 225°F (107°C). Use your choice of apple, cherry, or hickory wood chips.
- PREPARE the beer can by opening it and pouring out about half of the contents.
- Remove all moisture from the chicken, inside and out, with paper towels.
- COAT the chicken lightly with olive oil.
- Combine all the dry rub ingredients in a small bowl and mix them together.
- SEASON the chicken generously with the rub on all surfaces, including the inside cavity.
- Carefully place the chicken down over the top of the half-filled beer can so it fits snugly inside the cavity.
- Place the chicken upright in the hot smoker. Using a dedicated vertical roaster can add stability.
- SMOKE the chicken for 3 to 4 hours, or until the internal temperature reaches 165°F (74°C) in the thickest part of the thigh.
- Let the chicken rest for at least 10-15 minutes after removing it from the smoker. Carefully remove the hot can before carving.
Notes
- Ensure Crispy Skin: The key to crispy skin is starting with a very dry bird. Pat it thoroughly with paper towels before applying the oil and rub.
- Check Temperature Correctly: Always use a reliable instant-read meat thermometer to check for doneness. Insert it into the thickest part of the thigh, being careful not to touch the bone, for an accurate reading of 165°F.
- Use a Stand for Stability: To prevent the chicken from tipping over, consider using a beer can chicken stand or a vertical roaster.
- Beer Choice: A mild, standard lager is often the best choice as it won't overpower the flavor.
- Non-Alcoholic Option: If you prefer, you can use a can of soda (like root beer or cola), chicken broth, or even just water instead of beer.